 QuraMate Docs
Quick Start Checklist
Follow this order for the smoothest first run:
- Install QuraMate.
- Connect one workspace.
- Run one small read-only query.
If you get blocked at any step, jump to the linked deep-dive guide in each section below.
1) Install QuraMate
Download the latest release from the download page or GitHub and install for macOS or Windows. QuraMate is local-first, so no account setup is required.
After installation, open the app and keep the welcome screen visible for connection setup.
If you need platform-specific help, use Download & Installation.
2) Connect Your First Workspace
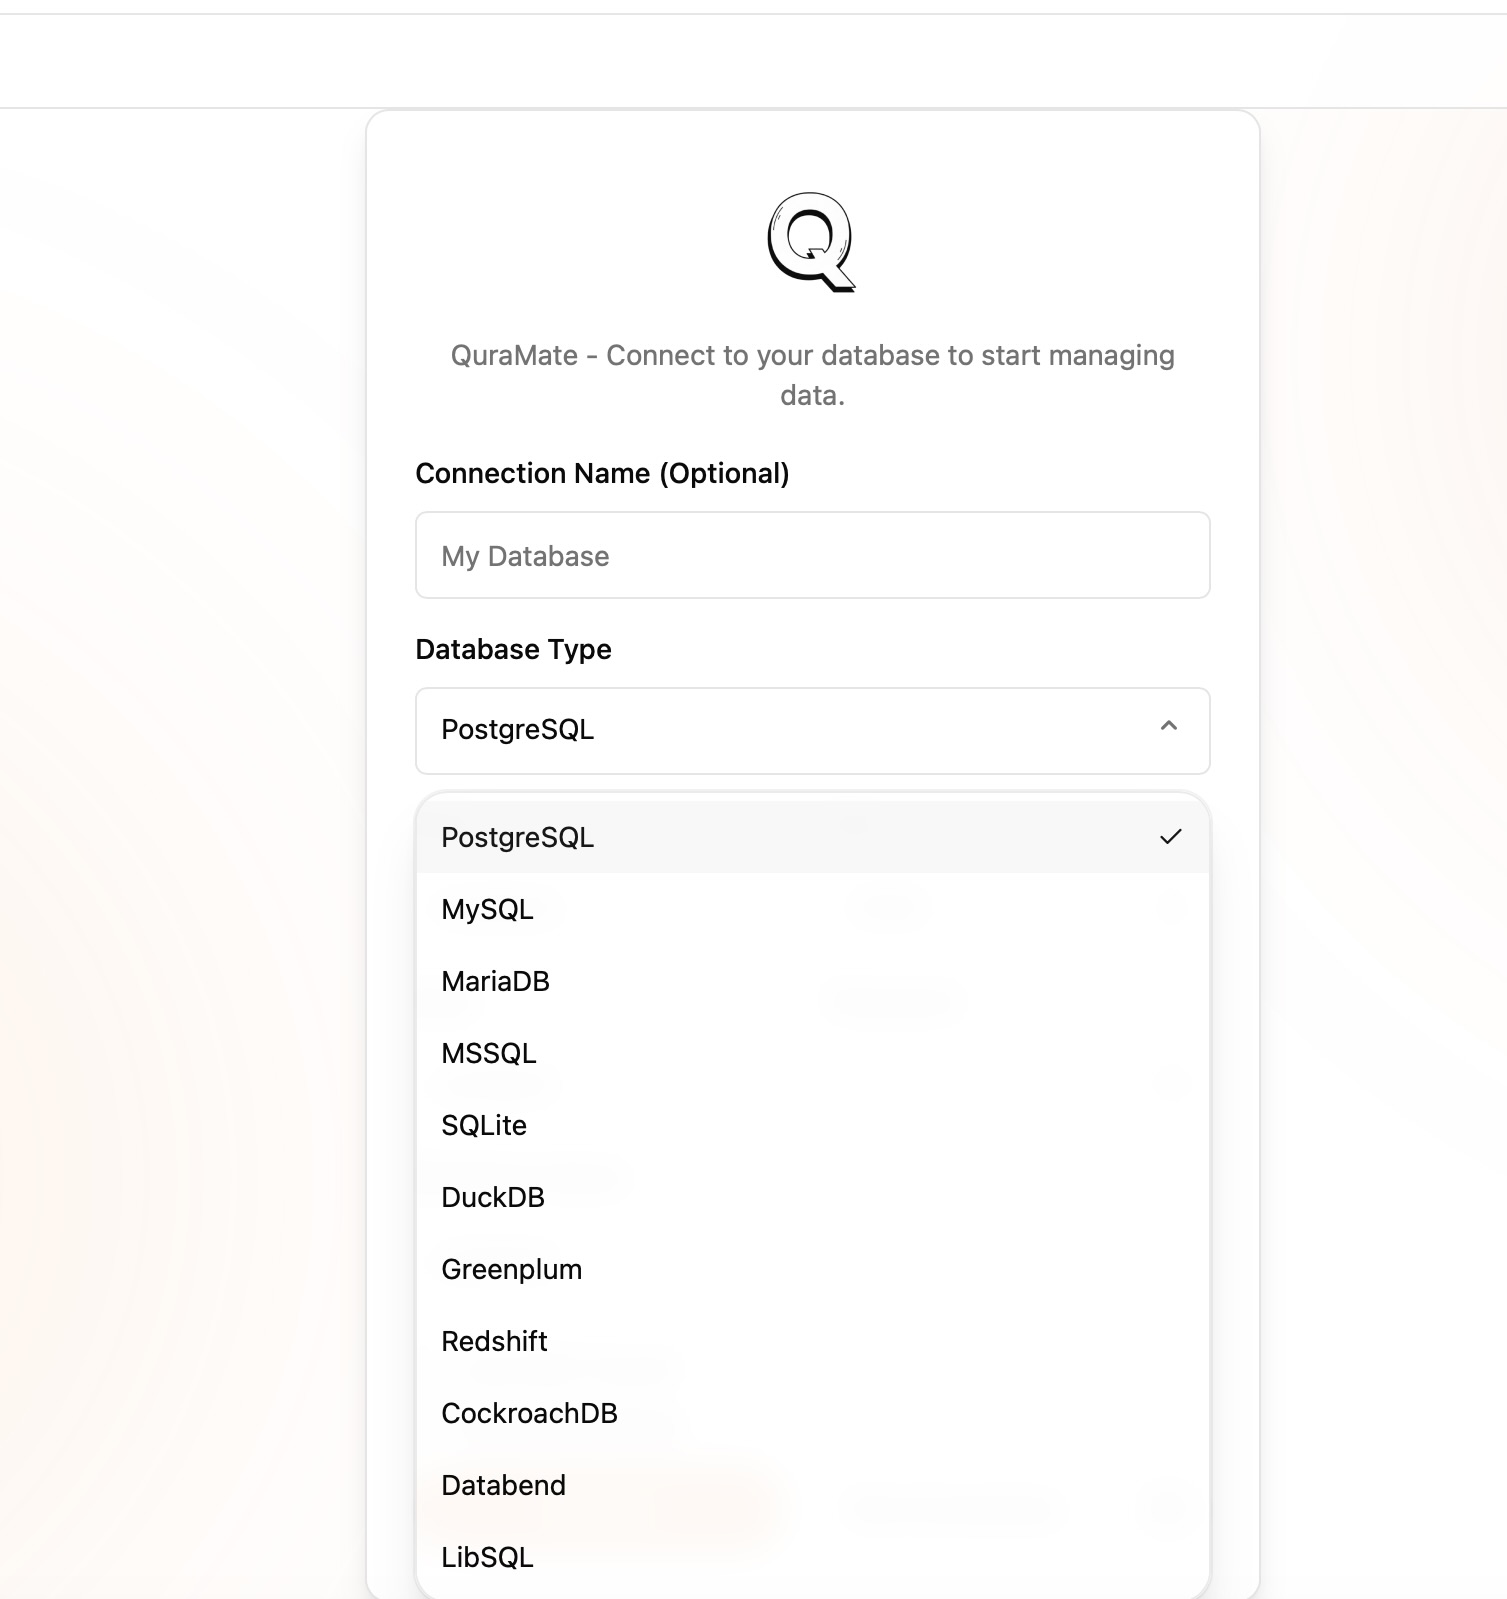
Start from the connection launcher, then choose the database type you want to use. QuraMate supports both server engines and local file databases, so choosing the correct source comes first.
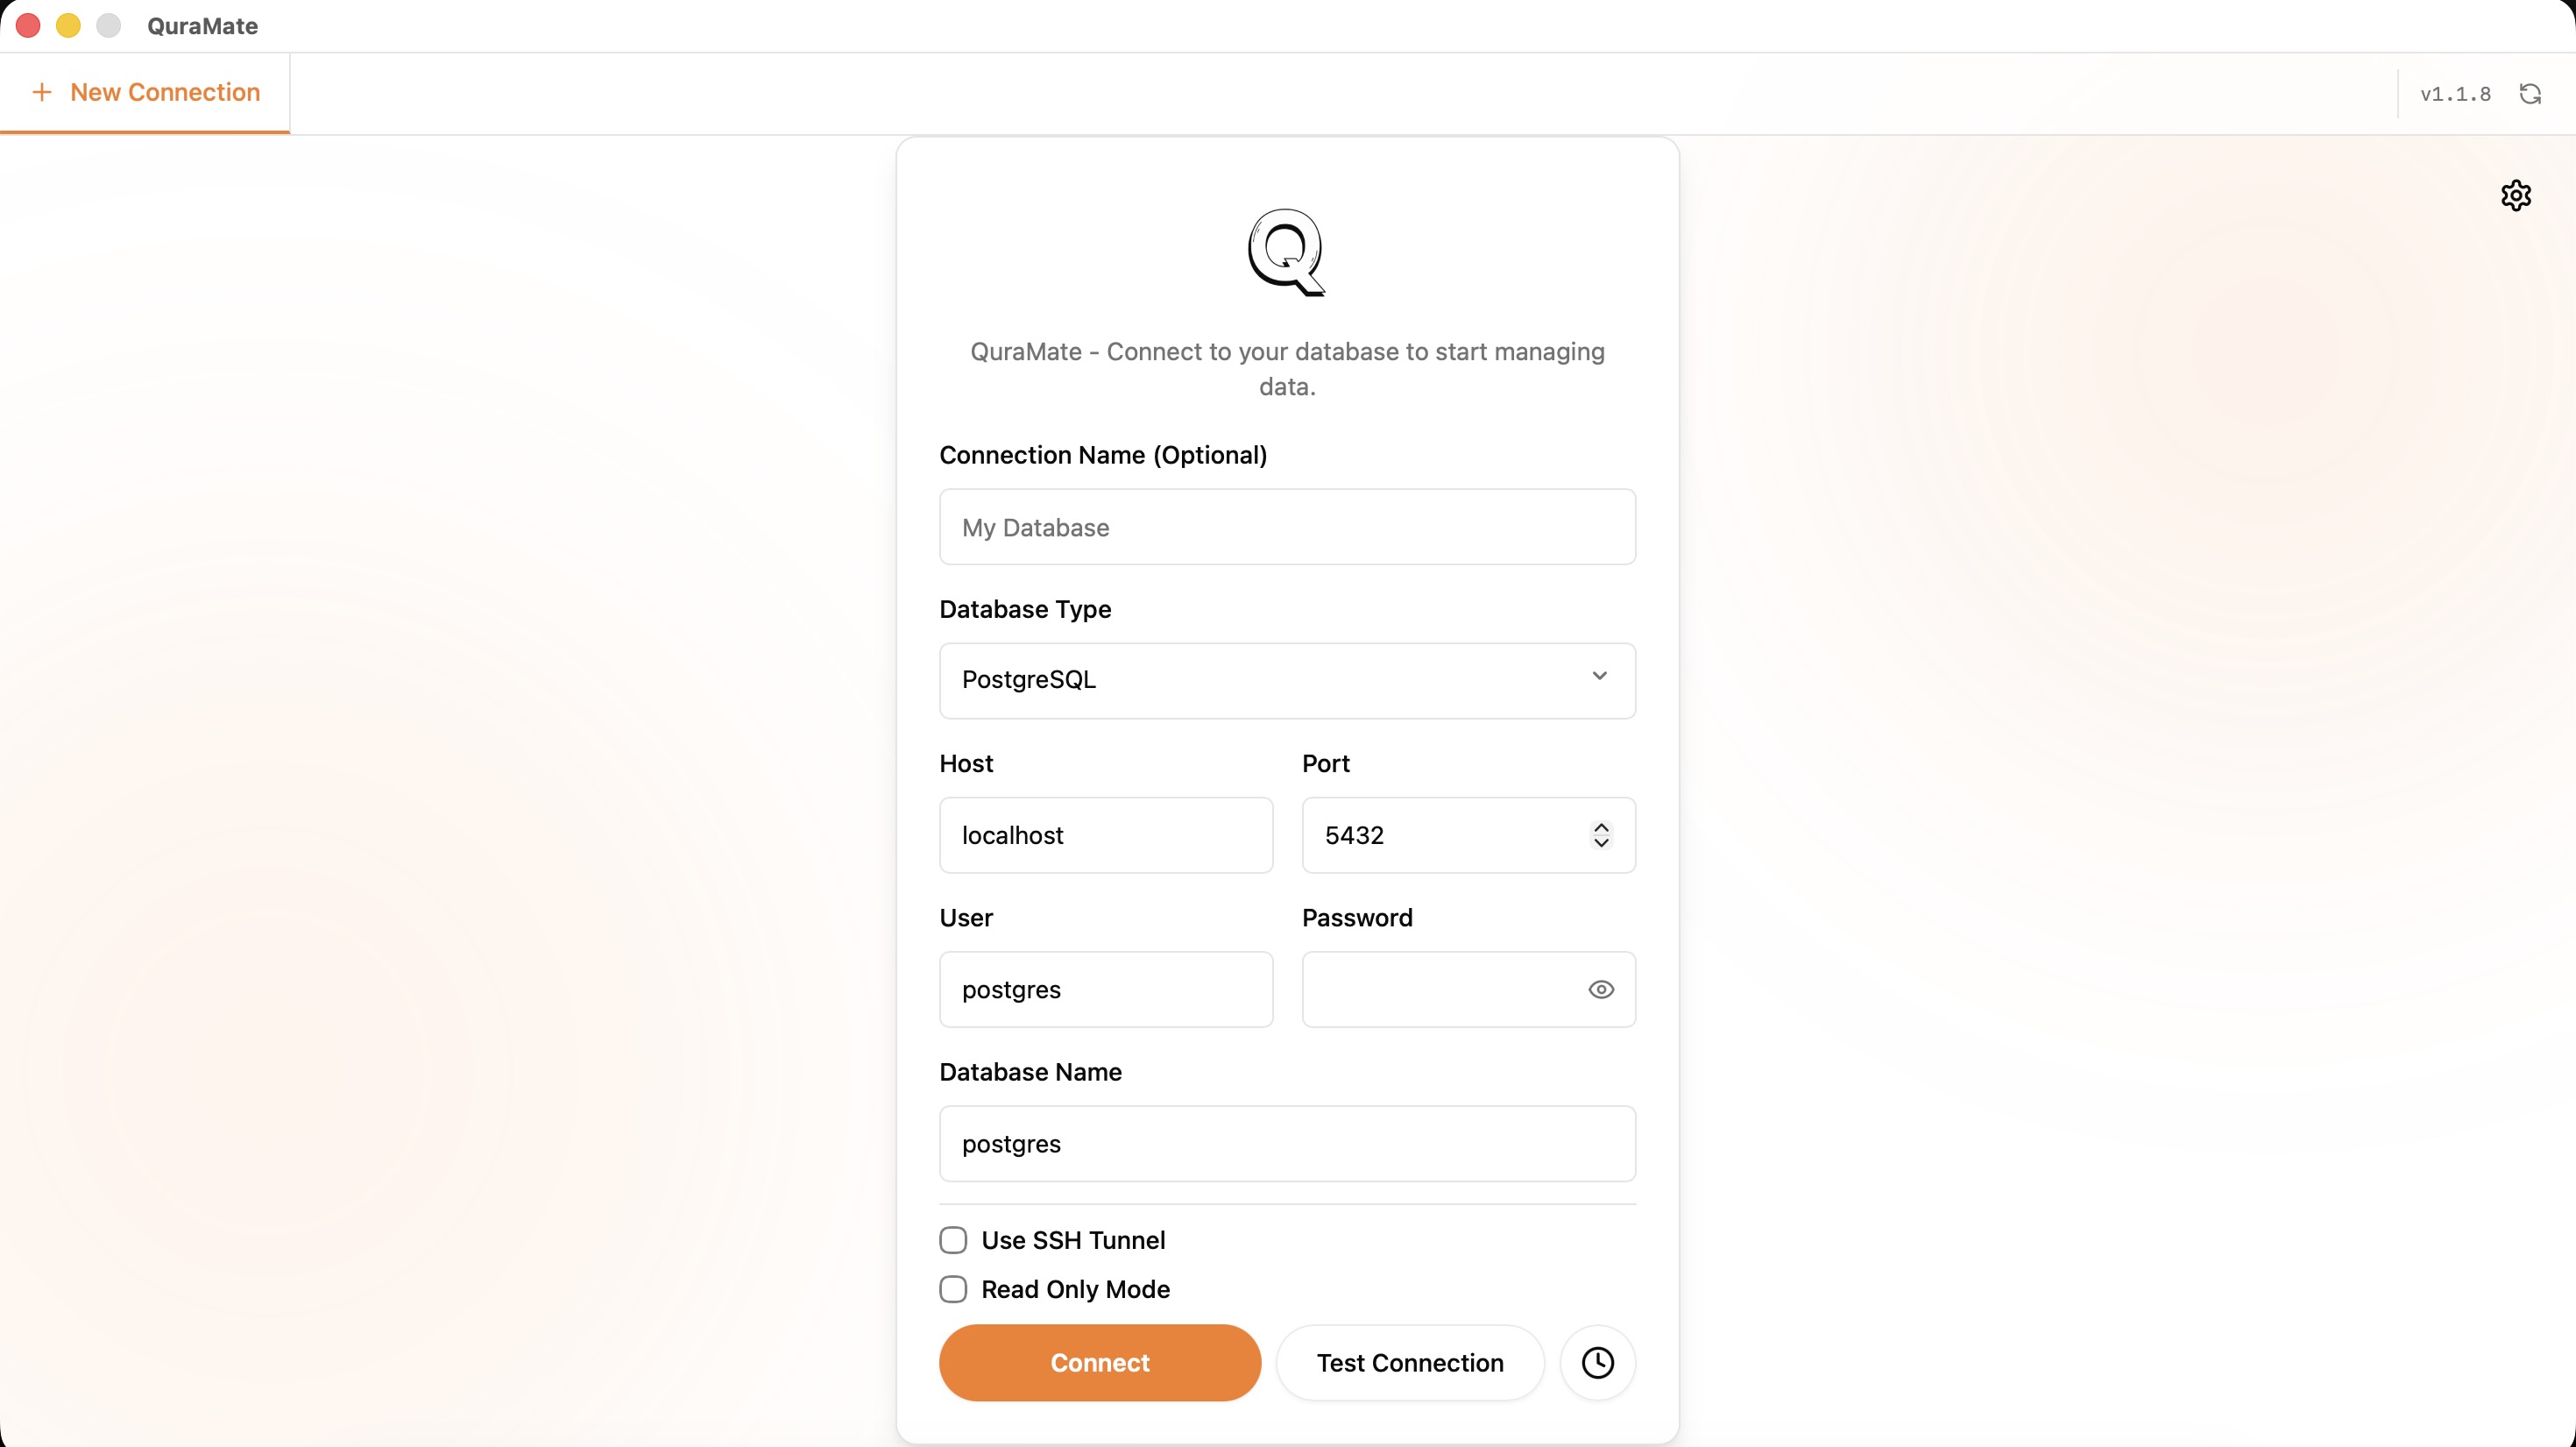
On the next screen, select the engine before entering host, port, username, database name, or file path. If the environment is sensitive, start with a read-only account.
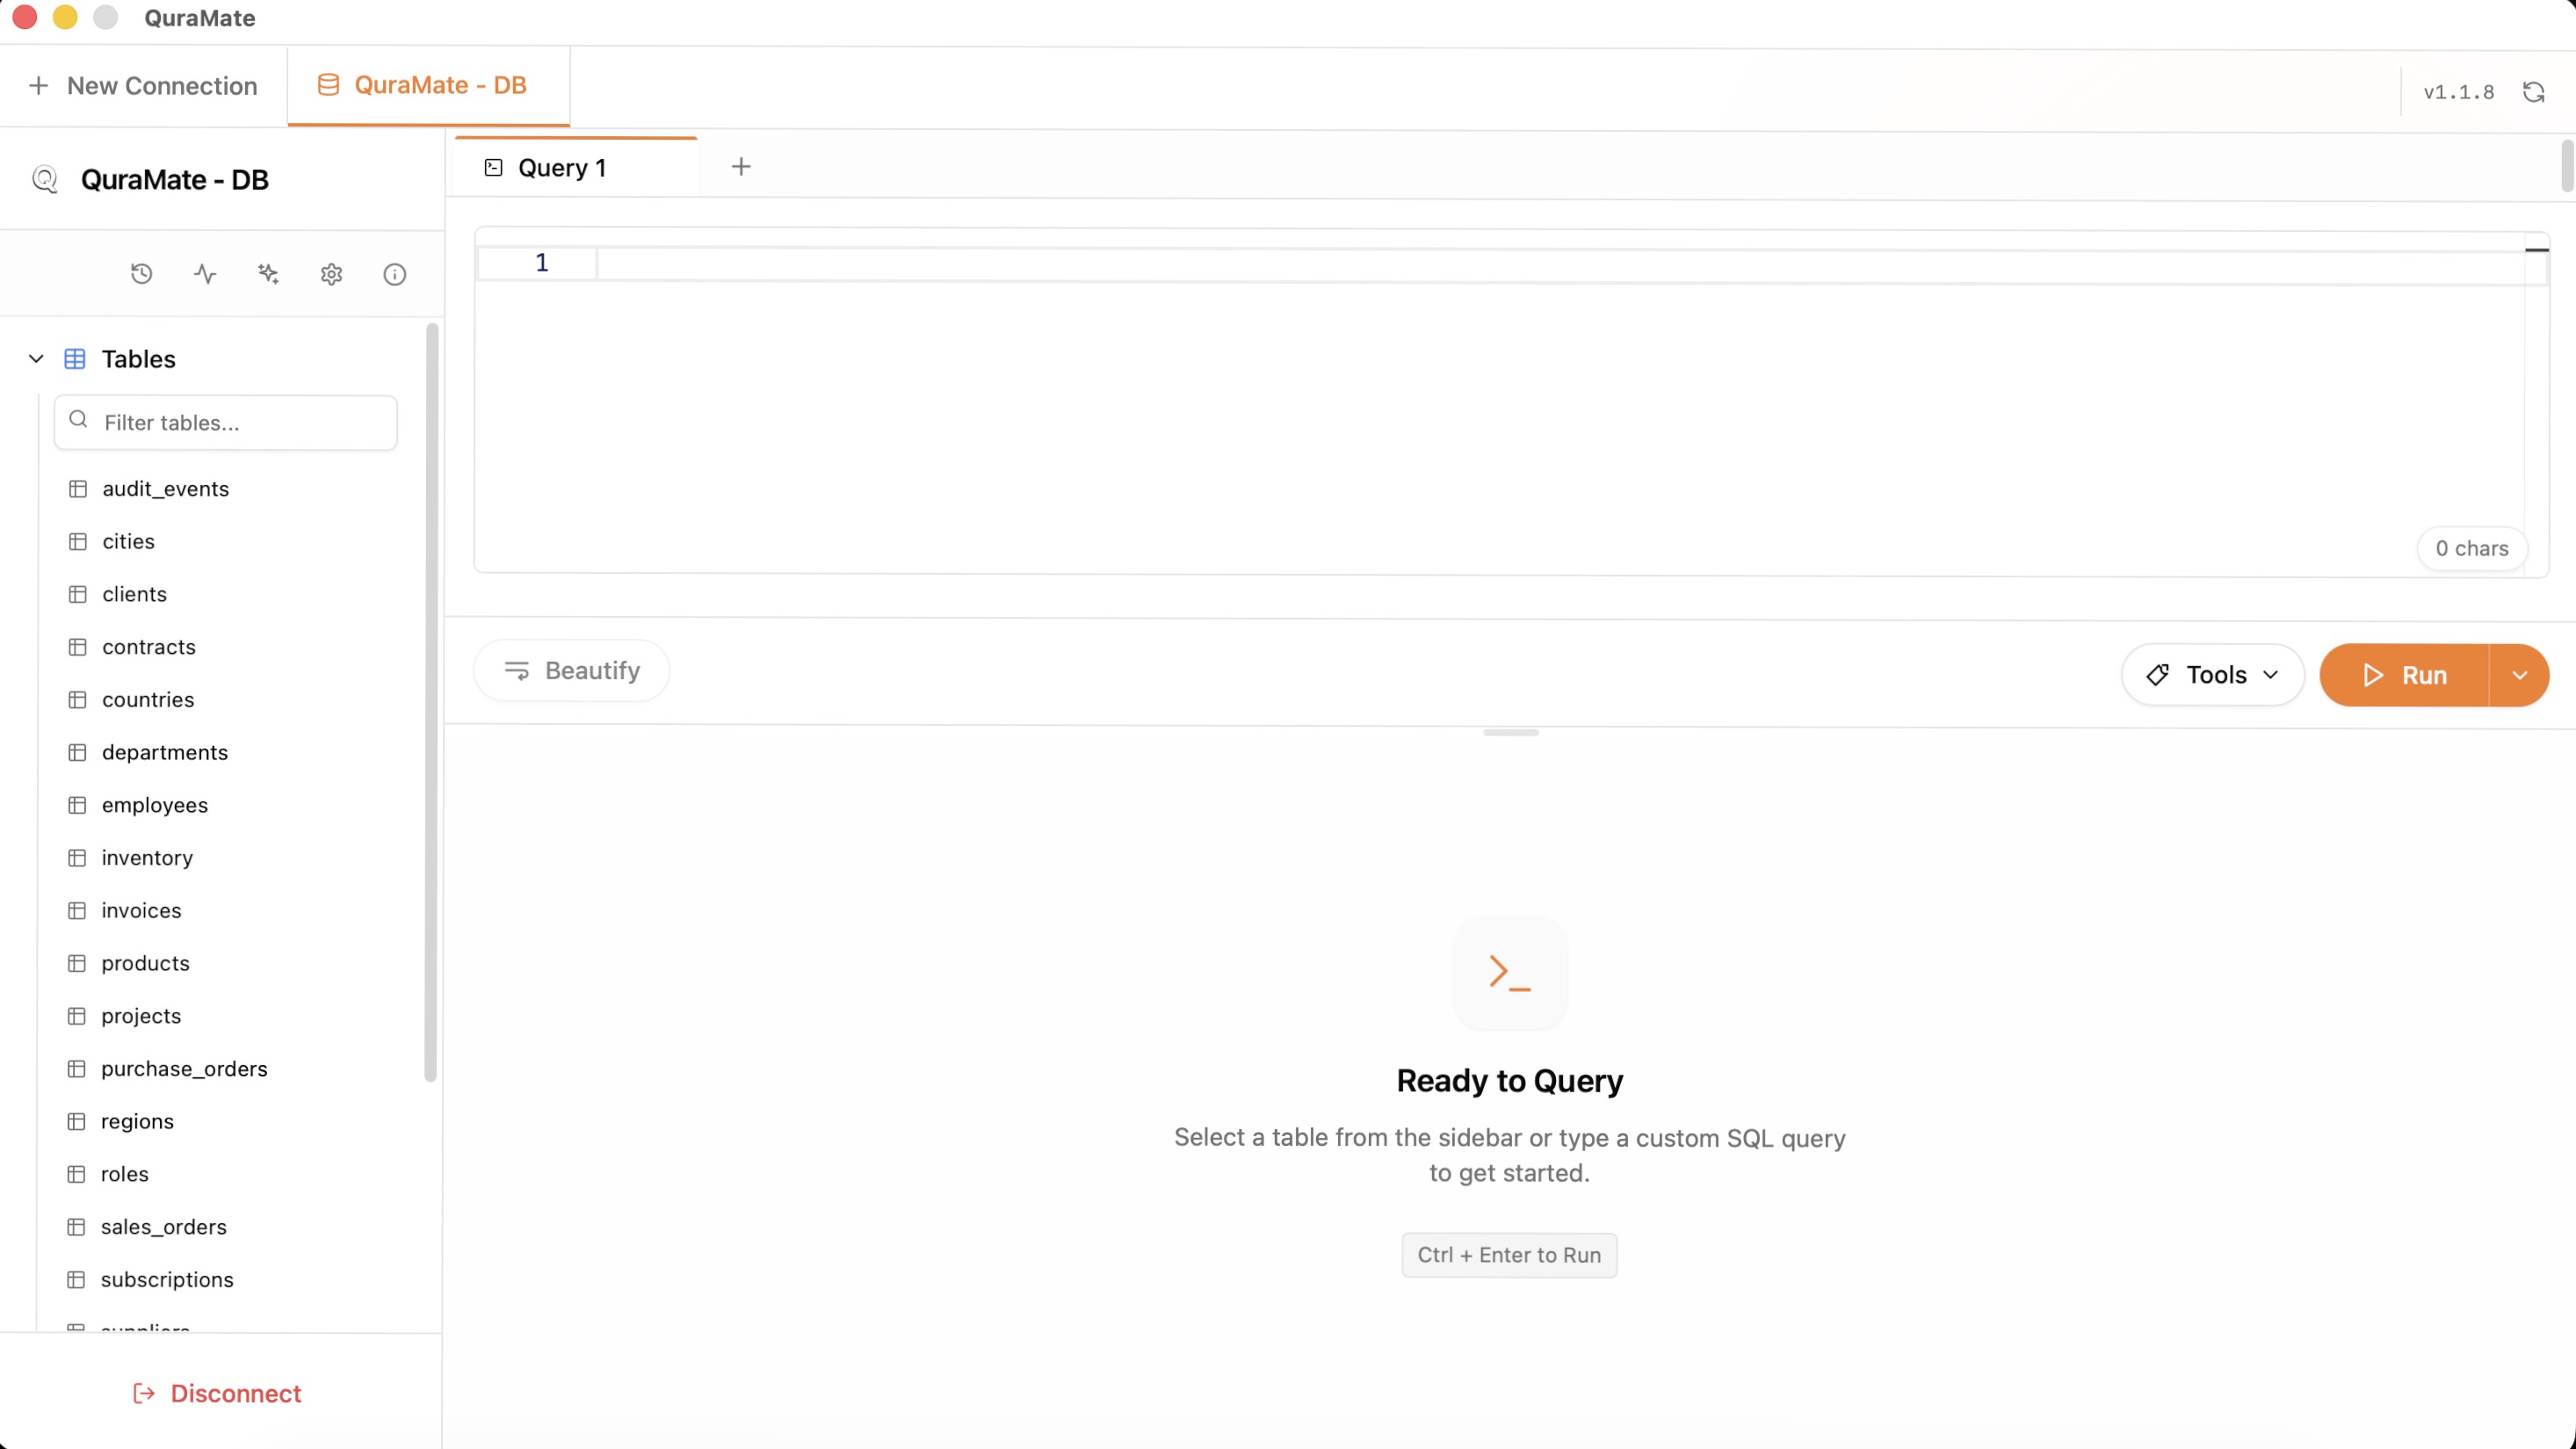
After connection succeeds, QuraMate opens the workspace and shows the active database context. This is the best moment to confirm you are in the expected environment.
For a full connection checklist, continue with First Connection.
3) Open the Query Workspace
Move to the SQL editor and keep your first action small. A read-only query is the fastest way to verify credentials, schema visibility, and responsiveness.
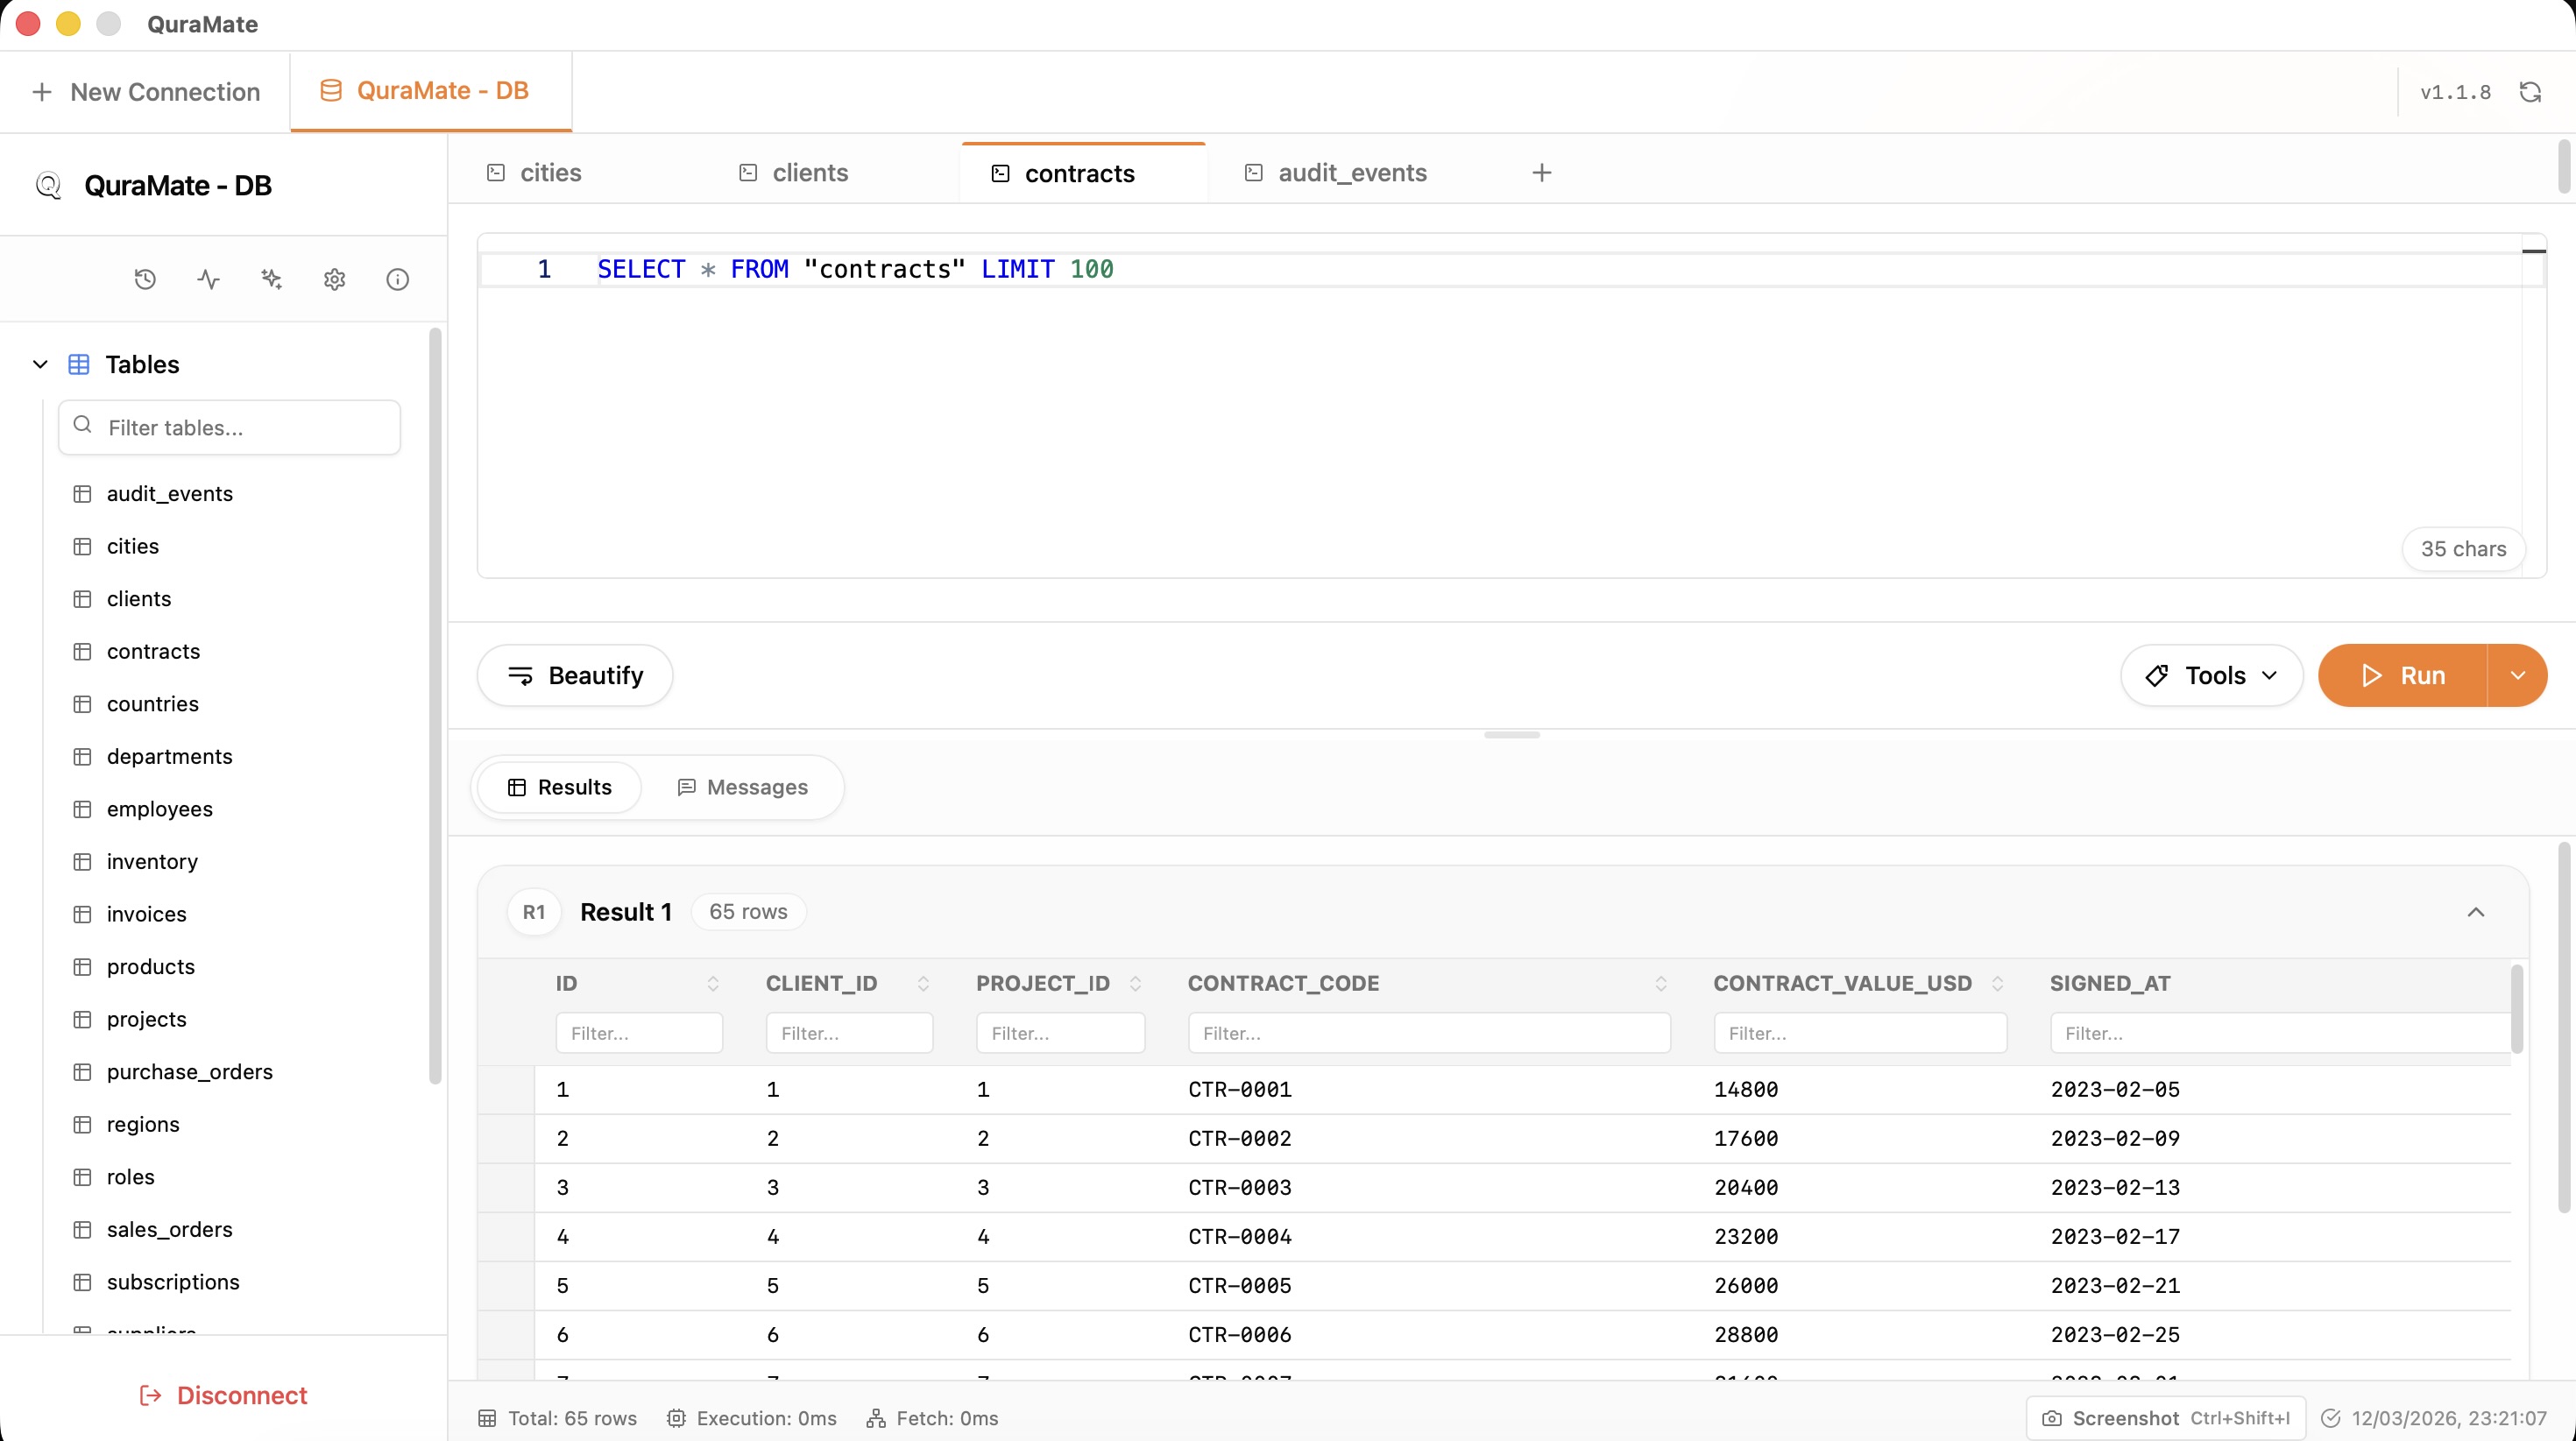
SELECT *
FROM your_table
LIMIT 50;
Check both active connection and result set before moving to joins, filters, or write statements. For a safer first-query routine, read Your First Query.